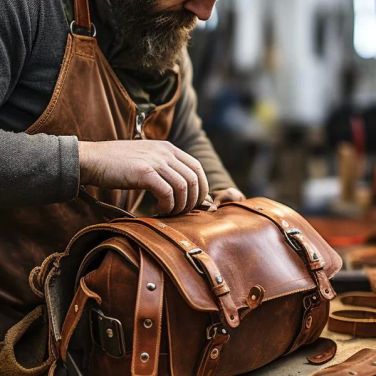


Ways to Repair Small Damages in Your Backpack: A Step-by-Step Guide
- Assessing the Damage: How to Identify Repair Needs
- Repairing Small Rips and Tears
- Fixing Zippers: A Quick DIY Fix
- Repairing Seams and Stitching
- How to Fix Holes in Your Backpack
- Backpack Maintenance Tips for Longevity
Assessing the Damage: How to Identify Repair Needs
Before you start repairing your backpack, it’s important to accurately assess the type of damage it has sustained. Whether you’ve noticed small tears, a broken zipper, or a worn-out strap, understanding the problem is the first step toward a successful fix.
1. Inspect the Exterior
Look over the entire backpack for visible signs of damage. Pay close attention to the stitching, fabric, zippers, and straps. This can help you determine whether the damage is something you can repair at home or if it requires professional attention.
2. Check the Zippers and Hardware
Zippers often break or get stuck over time. Check if the zipper teeth are misaligned, the pull tab is broken, or if the zipper is jammed due to dirt or fabric. These are common issues that can be fixed with minimal tools.
Repairing Small Rips and Tears
Small rips or tears in your backpack are common, especially with frequent use. Fortunately, repairing these is straightforward and can often be done with a simple sewing kit or patch.
1. Sewing the Rip
If the rip is small and along a seam, a needle and thread can do the trick. Use a heavy-duty thread and a sturdy needle that can handle the material of your backpack. For extra durability, you can double up the thread and stitch back and forth along the tear.
2. Using a Patch
If the rip is larger or you prefer a quicker fix, you can use an iron-on patch. These patches come in various sizes and materials, allowing you to cover up the damaged area while providing added strength.
3. Waterproof Tape for Instant Fix
If you need a quick, temporary fix, consider using waterproof tape. This will help hold the fabric together until you can sew it properly. It’s especially useful for rips in the rain or during a hike when you don't have immediate access to sewing supplies.
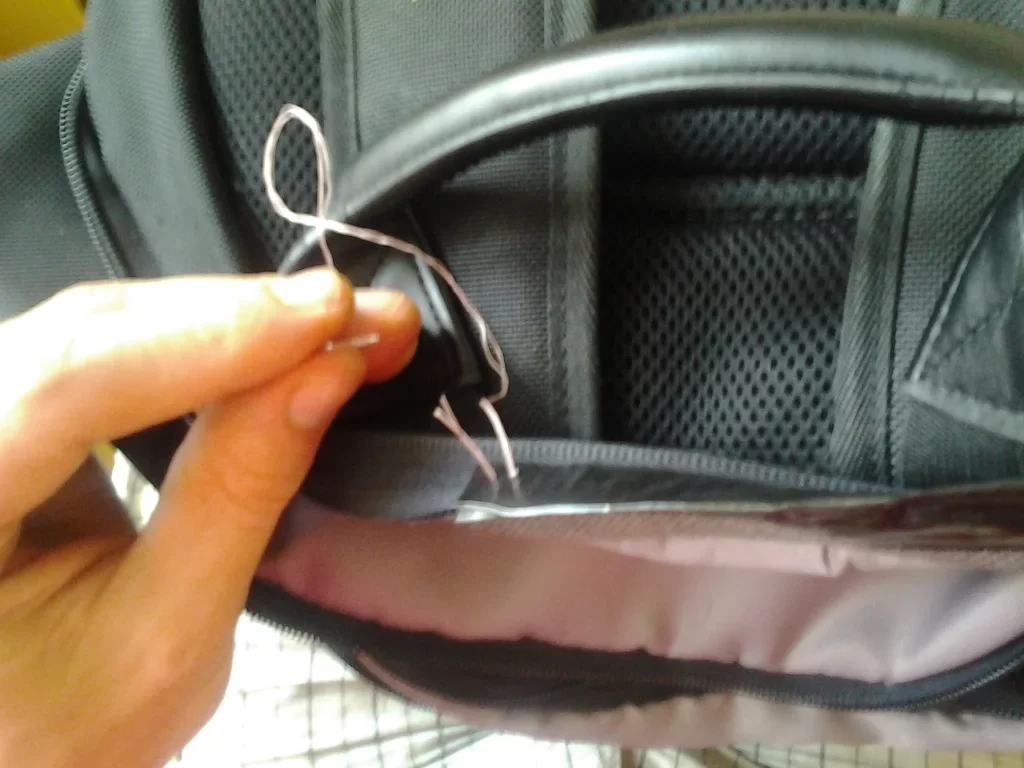
Fixing Zippers: A Quick DIY Fix
Backpack zippers are notorious for getting stuck or breaking. If your zipper is causing frustration, there are several ways to fix it without having to replace the entire zipper.
1. Fixing a Stuck Zipper
For zippers that are stuck due to fabric getting caught, gently pull the fabric away from the zipper teeth. If the issue persists, use a pencil to rub on the zipper teeth to lubricate them. This can help the zipper glide more smoothly.
2. Replacing the Zipper Pull Tab
If the pull tab breaks, you can replace it with a key ring, paper clip, or even a piece of string. This simple fix can extend the life of your zipper until you can replace the pull tab with a proper replacement.
3. Realigning Misaligned Zipper Teeth
If the zipper teeth are misaligned, gently pull the zipper up and down to realign them. You may need to use pliers to carefully pinch the teeth back into place, but be gentle to avoid damaging the zipper further.
Repairing Seams and Stitching
Backpacks are typically made of strong, durable materials, but the seams where the pieces of fabric are sewn together are vulnerable to wear and tear. Fixing these seams can help prevent further damage and keep your backpack in good condition.
1. Reinforcing Loose Seams
If you notice loose or fraying seams, reinforce them with a sewing kit. Use a strong polyester or nylon thread, as it will hold up better than regular cotton thread. For added security, you can apply fabric glue before stitching to ensure the seam stays intact.
2. Re-stitching Entire Seams
In the case of a completely undone seam, you may need to carefully sew the entire seam back together. Use a backstitch or running stitch to secure the fabric, and make sure the stitch is tight enough to hold the material together under the weight of the backpack.
How to Fix Holes in Your Backpack
Holes in your backpack are an inevitable part of wear and tear. Thankfully, they’re easy to fix with a little bit of effort. Here’s how to patch up any holes that may appear over time.
1. Using a Fabric Patch
The most reliable way to fix a hole is to apply a fabric patch. Cut a patch slightly larger than the hole and sew it over the damaged area. Make sure the edges are securely stitched to avoid the hole from reopening.
2. Waterproof Tape for Quick Fixes
If you’re in a rush or need a temporary solution, waterproof tape works wonders on small holes. Simply apply the tape over the hole and press firmly to ensure it sticks. While this isn’t a long-term fix, it can be a lifesaver during a trip.
Backpack Maintenance Tips for Longevity
Proper maintenance can help prevent damage and ensure your backpack lasts for many years. Here are a few tips to keep your backpack in top shape:
1. Regular Cleaning
Keep your backpack clean by regularly wiping it down with a damp cloth and mild detergent. For tougher stains, use a soft brush. Avoid using harsh chemicals that can damage the fabric.
2. Proper Storage
When you’re not using your backpack, store it in a cool, dry place. Avoid stuffing it into tight spaces, as this can cause unnecessary strain on the zippers and seams.
3. Frequent Inspections
Periodically check your backpack for any signs of wear and tear. Early detection of small issues can prevent bigger problems down the line.
If you're looking for a high-quality, durable backpack to start with, check out our collection at Feima Bags for premium backpacks that stand the test of time!